GETTING STARTED
This document will give you a very quick introduction to the most basic Temper tasks: Working with tracks, editing MIDI and recording audio. It assumes you've completed the setup procedure and have a working audio interface.
When starting Temper, a new window is created on a blank song. By default the song will have three tracks: A MIDI track, an audio track, and the Main buss track.
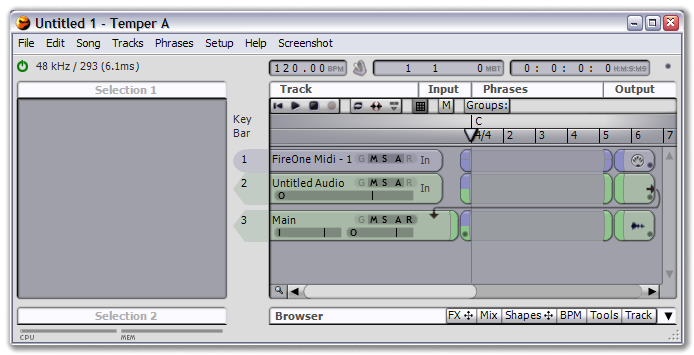 |
| the initial song. labels will vary. |
The MIDI track goes to a MIDI output port, and is only useful if you are working with external MIDI gear. The audio track is used for audio sequencing, which we won't cover in this guide. For now, let's just delete both these tracks: Click on the MIDI track number ("1") and drag to the audio track number ("2").
 |
| after selecting two tracks |
With both tracks selected, choose Tracks->Delete 2 Tracks from the main menu. This should leave us with one track, the Main track.
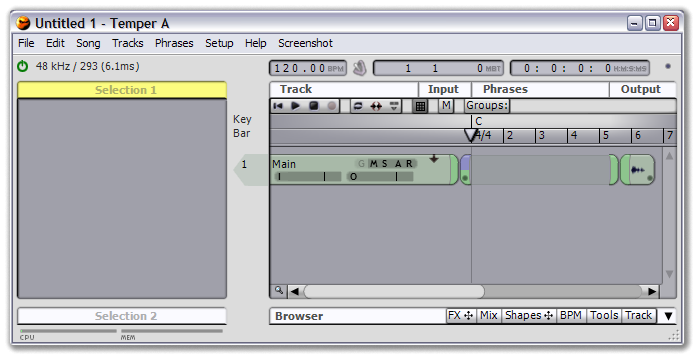 |
| after deleting two tracks |
ADDING A NEW TRACK
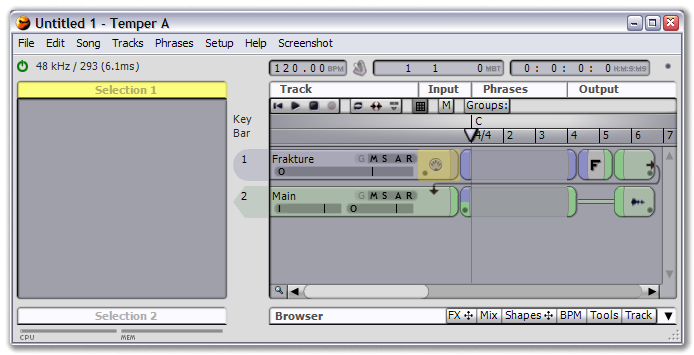
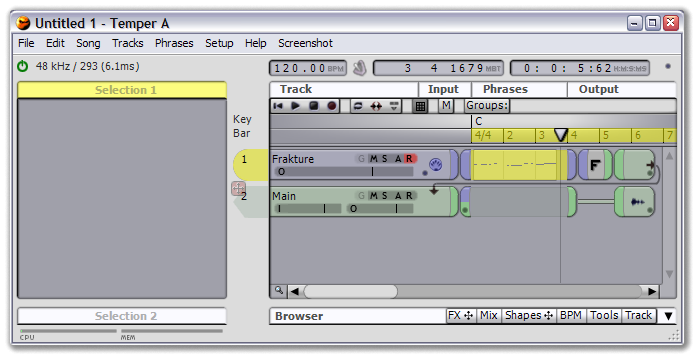
Add a new VST track by selecting Tracks->Add MIDI Track-> and selecting the name of your favourite VST. The new track appears above the Main track with an output wire showing that its audio will flow to the Main track.
If you have no VSTs installed, use the built in Temper synthesizer by selecting Tracks->Add MIDI Track->Frakture.
 |
RECORDING MIDI
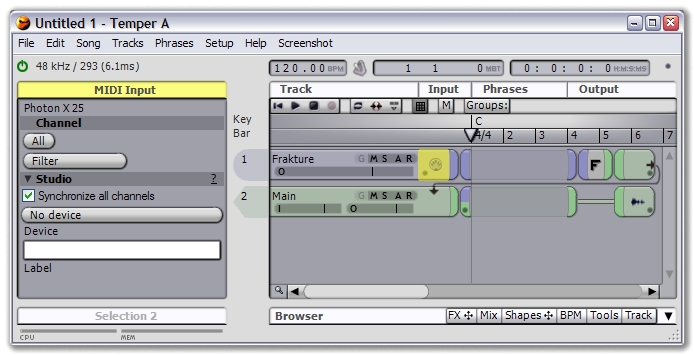
If you have a MIDI keyboard, one of the first things you'll want to do is record some MIDI data. First you need to select your keyboard from the list of MIDI ports available when clicking on the 'In' FX.
 |
If necessary, you can click on the new FX to open its parameters in the Selection 1 view.
 |
To record, enable recording for the track (the 'R' button next to the Solo/Mute buttons in the track title), then press the Record button in the song transport.
 |
EDITING MIDI
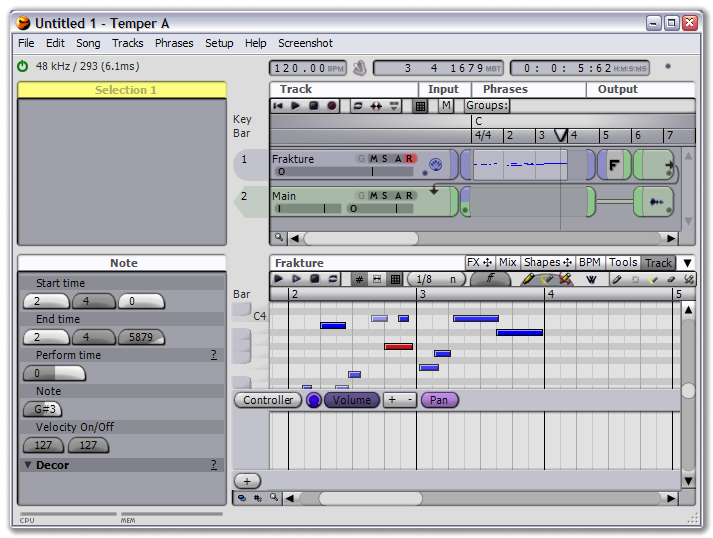
To edit the track, double click in the Phrases area. This opens a track editor in the Browser.
The default tool in the new track editor is the Pencil, used for creating new notes and other events. Use the Pencil to place a few notes in the track. You should hear them play as you do.
 |
A quick word on MIDI editing: Temper is designed for a three button mouse. The default configuration has the Pencil tool, for creating and moving events, on the left button; the Wand tool, for selecting (click in empty space for a box select) and editing (i.e. note velocity and duration) on the middle button; and the Cut/Copy tool (click-drag to copy, click-release for a menu with the Cut operation) on the right button. With a three button mouse, all basic MIDI editing operations are always available.
RECORDING AUDIO
Press the Play button in the track editor to hear your song. No doubt it's perfect; it's time to record.
By default, every new track will send its audio to the Main buss track, just like our new VST track does, so we record the song by recording the Main track.
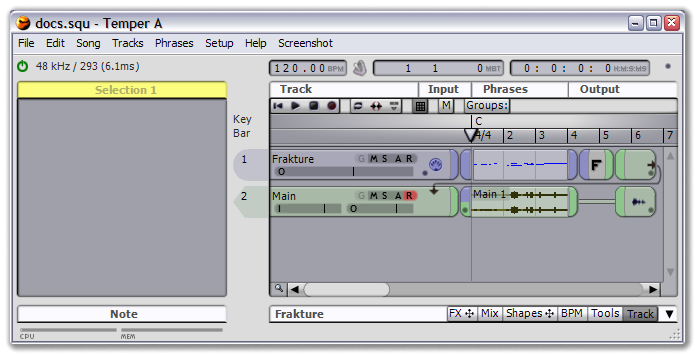
First press the Rewind button to move to the start of the song. Recording audio works just like recording MIDI: Enable recording on the track, then press the Record button in the transport. If you haven't yet saved your song you will be asked to do so, then the audio will be recorded to the Main buss track. Press Stop when you're finished recording, as recording will go endlessly otherwise.
 |
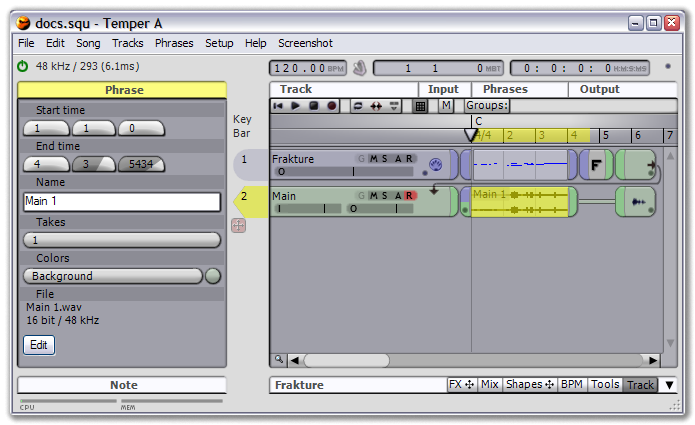
If you now want to hear just the recorded audio, turn off Record mode on the Main track, turn on Solo mode, and then press the Play Song button. If you want to locate the recorded audio file on your drive, click on the recorded audio in the Phrases area. A parameter view will open with the file name at the bottom (hover over the file name to see the full path).
 |
ARRANGING
Song are composed of tracks, which are composed of phrases, which store the actual music events (note: sequencers tend to use different terms for phrases; you might be familiar with them as "clips"). Once we have several tracks and some song data, generally the next thing we want to do is start chopping up our song and arranging it. The basic arranging operations are all based on the current song selection. The song selection is composed of two things: One or more tracks, and a time range.
Let's perform the basic arranging operations: Separating, moving and merging phrases. Before we get started, it's handy to know we can clear the selection at any time by clicking in empty space, such as below the last track.
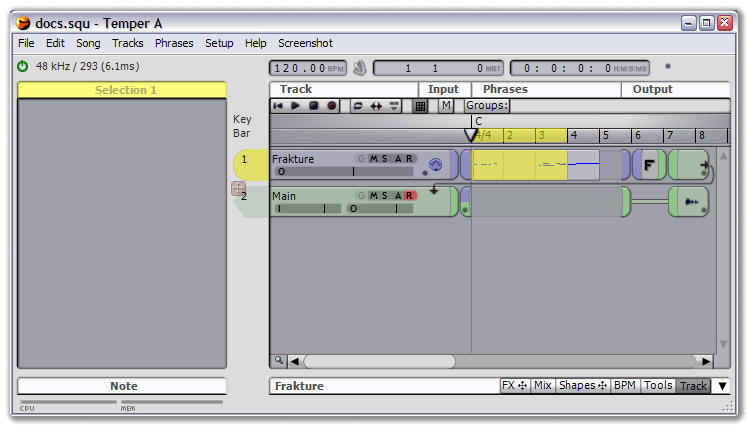
Now, start by selecting a portion of the MIDI phrase you recorded above. Do this by clicking in the ruler halfway through the phrase and dragging towards the end. Note that the currently selected tracks, if any, are maintained; if none, all tracks are automatically selected. If multiple tracks were selected, narrow the selection by clicking the track number for the MIDI track.
 |
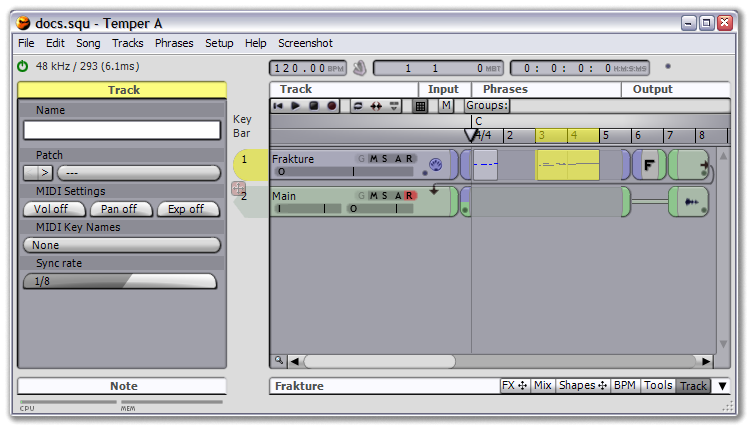
Now select Phrases->Separate Phrases, to split the phrase at either selection end.
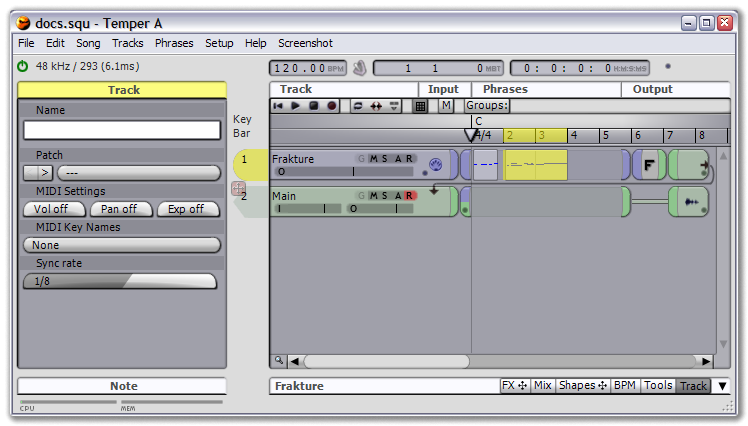 |
Moving phrases is a simple matter of dragging and dropping, so grab the new right phrase and drag it out a measure.
 |
With our extra space inserted, select an area that encompasses both phrases and select Phrases->Merge Phrases to put them back together.
 |
For more information on arranging, see Arranging in the Song topic.
WHAT'S NEXT?
Where you go now depends on how you intend to use Temper.
If you're interested in realtime MIDI processing, read up on the FX and FX Routing, then dive into some specific FX such as the Arpeggiator for generating notes or the Change Value for creative manipulations.
If you're interested in MIDI editing, get the basics down, then move to the more advanced group and decor topics.